
Installation of New Sash Hardware, Double Hung
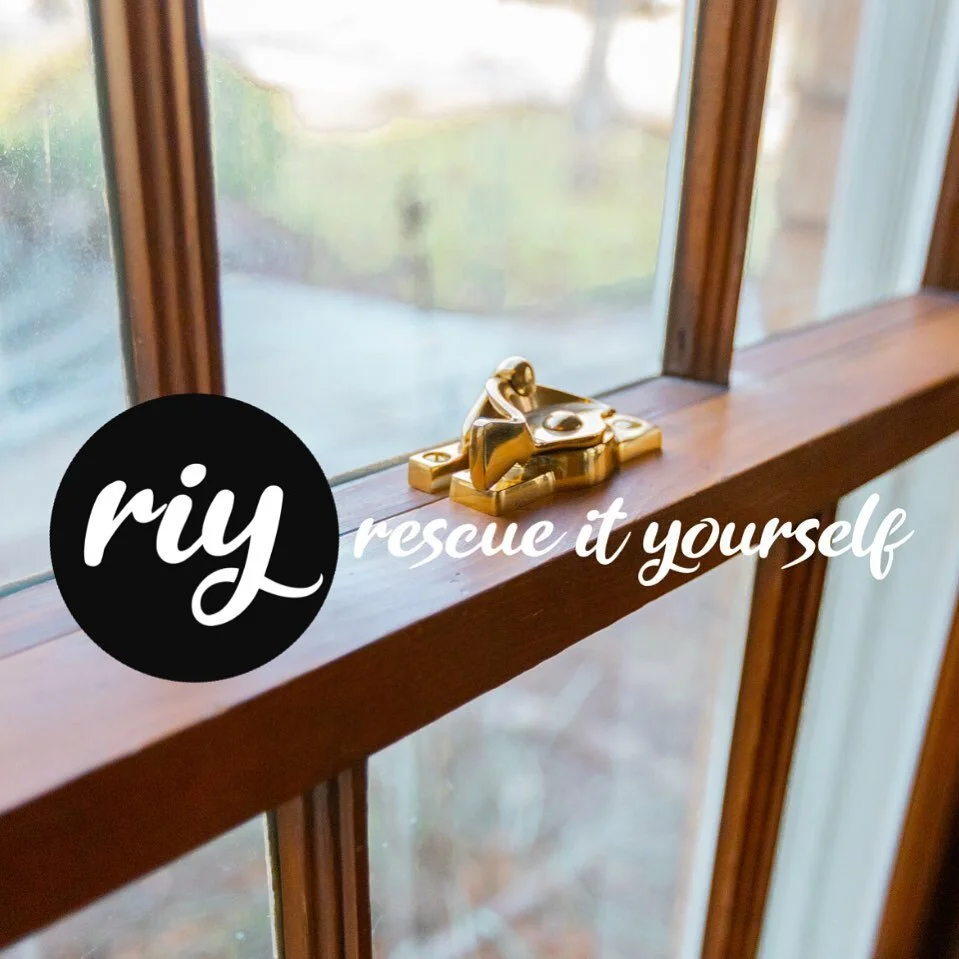
Your vintage windows need to lock! But what is the right way to get them to lock? How do close the gap and how do solve the most common problems? In this field guide and the video below we walk you through how to install a traditional sash lock and lift on a vintage wood window - a simple way to improve the beauty of an old home.
Tools & Materials:
Measuring Tape
Pencil
Drill
3/32” twist bit
1/8“ twist bits
Flathead screwdriver - ratching screwdrivers will save your forearms!
Painter’s tape
Hardware Notes:
Lock & keep are most commonly centered or matched with existing.
Lift should be symmetrical and centered within a pane, when possible.
Lift placement should be measured from the profile edge, not the stool.
Windows 34”+ wide should have two locks and lifts installed to assist in smooth operation and pulling the meeting rails together for decreased air infiltration.
Procedure:
Old hardware holes should be filled with epoxy if they’re intended to be reused.
Mark twist bits for the screw length with painter’s tape
Find the center for the lock by measuring from the start of the profile on each side, dividing the measurement in half, and marking with a pencil on the lower check rail.
Align the keep centered on the mark with the based flush with the upper meeting rail. Pre-drill with a ⅛” twist bit
Install keep with provided screws using a flathead screwdriver
Align the lock centered with the keep and the exterior, flat surface flush with the edge of the lower meeting rail. Test to see if the lock will pull the meeting tight. Pre-drill with ⅛” twist bit.
Install lock with provided screws and flathead screwdriver
Find center for the lift by measuring on center in the glass opening and mark
Pro Tip: Raise the lower sash and mark center on the lower rail based on the lock placement.
Mark the height to be ½” below the lower rail profile edge.
Pro Tip: A scrap piece of parting bead is perfect for gauging 1/2'‘ below the profile.
Align the lift on the marks, you may be able to clamp with a pistol grip clamp
Pre-drill lift with 3/32” twist bit. You’ll notice that’s different than the lock pilot holes, as the screws are different sizes.
Install lift with provided screws and flathead screwdriver
Acceptable: Pilot holes are drilled to the appropriate size. When fastened, the lock pulls the check rails together. Screws are not marred and are installed by hand.
Unacceptable: Screws are marred, installed with drill, or head is sheared. The lock does not pull check rails together or secure the window.