
Weatherstripping - Spring Bronze Installation
Tools & Materials:
1 ⅛” spring bronze
17 x ¾” coppered nails
Hammer
Tin snips
Measuring tape
Drill
1/16” twist bit
Needle nose pliers
5-in-1
Weatherstripping note: Spring bronze weatherstripping is installed before the sash installation. Spring bronze can be added to the upper rail, upper meeting rail, lower rail, and sash channels. Nailing flange should be installed toward the top on the upper meeting rail and toward the interior on all other pieces. 1 ⅛” spring bronze is most typically used for 1 ⅜” sash.
Procedure:
Prep the box by opening it, making a cut to the side, feeding the spring bronze out of the side, then taping the top closed.
Mark meeting rails on the jamb by measuring the sash or setting it into the opening and marking
Note: All nails should be installed toward the interior.
Measure and cut the spring bronze with tin snips to be ½” larger than the upper sash.
Cut a small curve on the meeting rail side to reduce snagging
Mark and cut for the upper sash channel pulley using either method below
Cutting and install a single strip from the pulley to the header
Cutting around the pulley using tin snip and installing a continuous piece
Pre-drill the first hole at the top of the upper sash channel with a 1/16” twist bit about ¼” deep and install the first nail.
Pull the spring bronze taut and straight. Repeat step 6 for the center then end.
Repeat pre-drilling and nailing every 1 ½-2”
Spring side may need one nail above the pulley to keep from catching.
Repeat process for the lower sash channel with cutting the end of the spring bronze to match the angle of the sill.
Repeat steps for the upper, lower and upper meeting rail with the additional notes
For the lower rail cut the spring bronze flush with the ends
For the upper rail cut the spring bronze ⅛” inside of the pulley channel
For the upper meeting rail the spring should be downward.
Check for daylight after sash installation. Close the daylight by running a 5-in-1 down the crease then bending the spring bronze out with the 5-in-1 until daylight is gone.
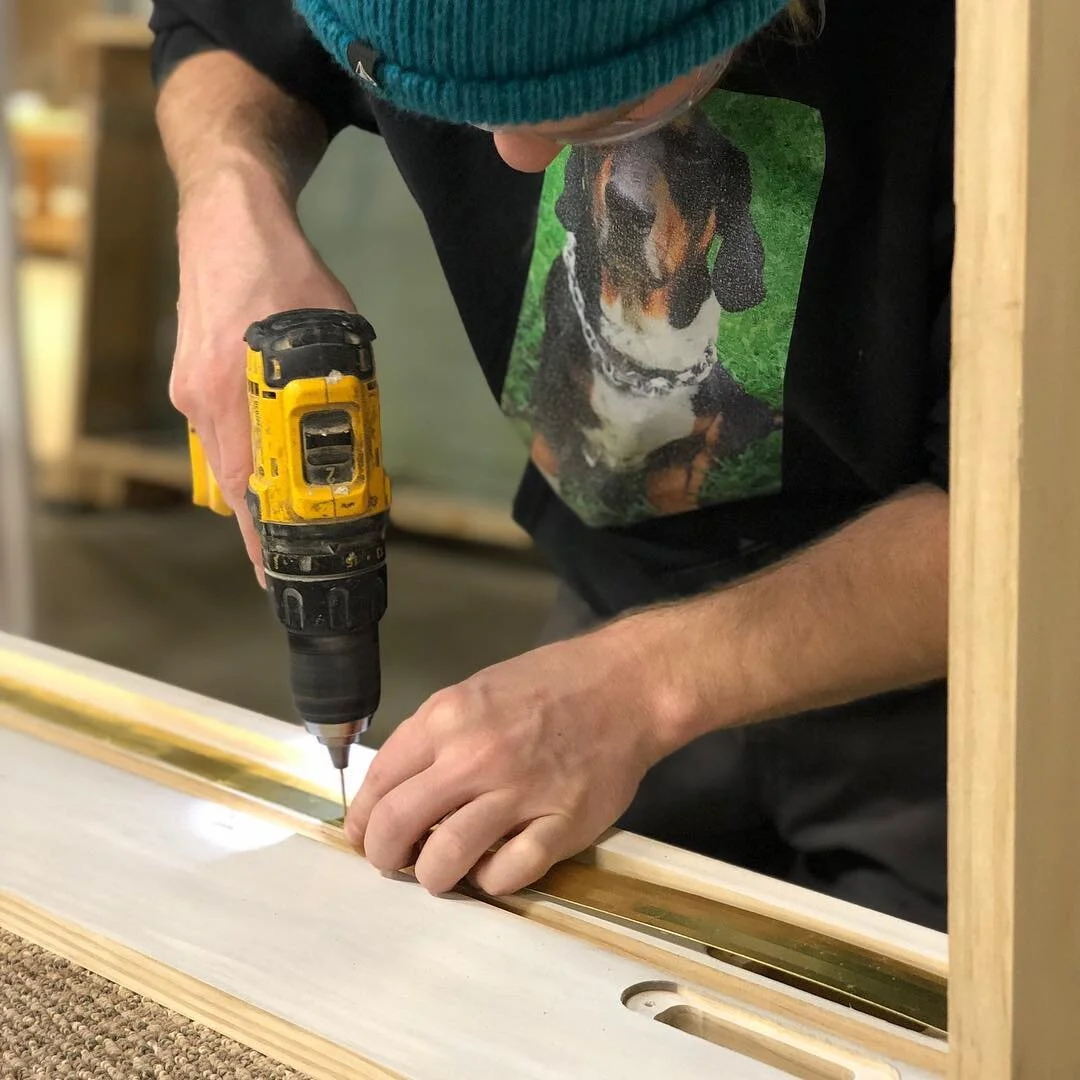
Spring bronze installation on a new jamb. Pre-drilling with 1/16” drill bit shown